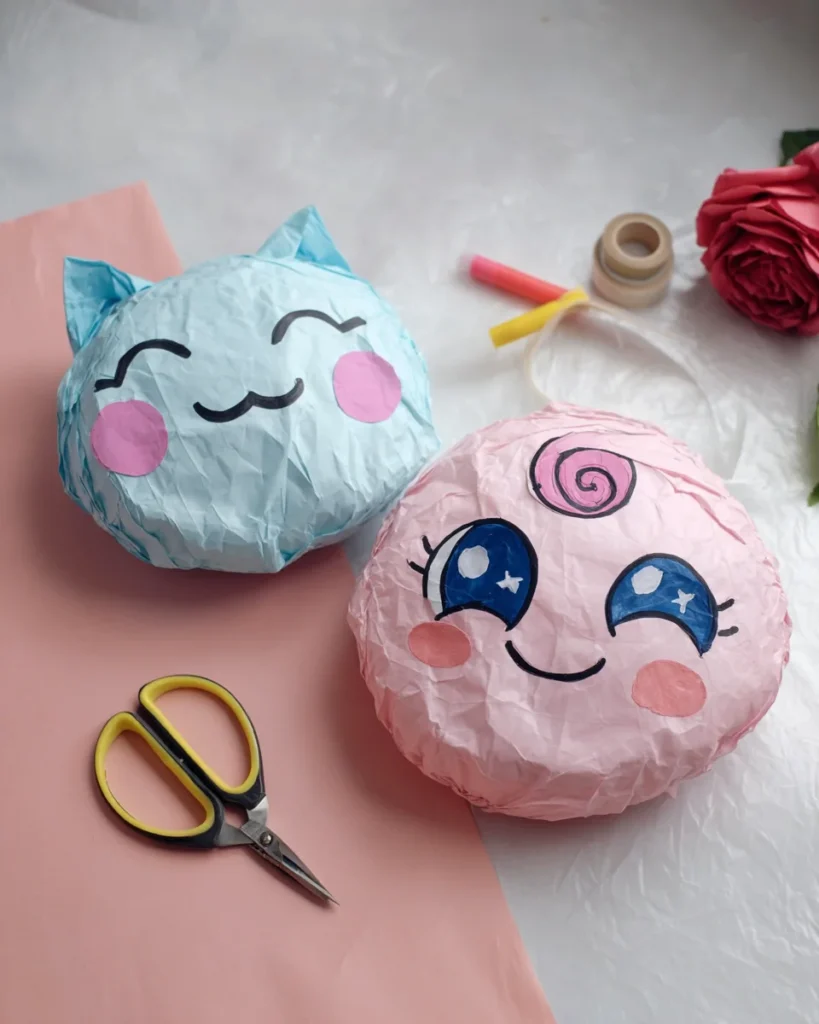
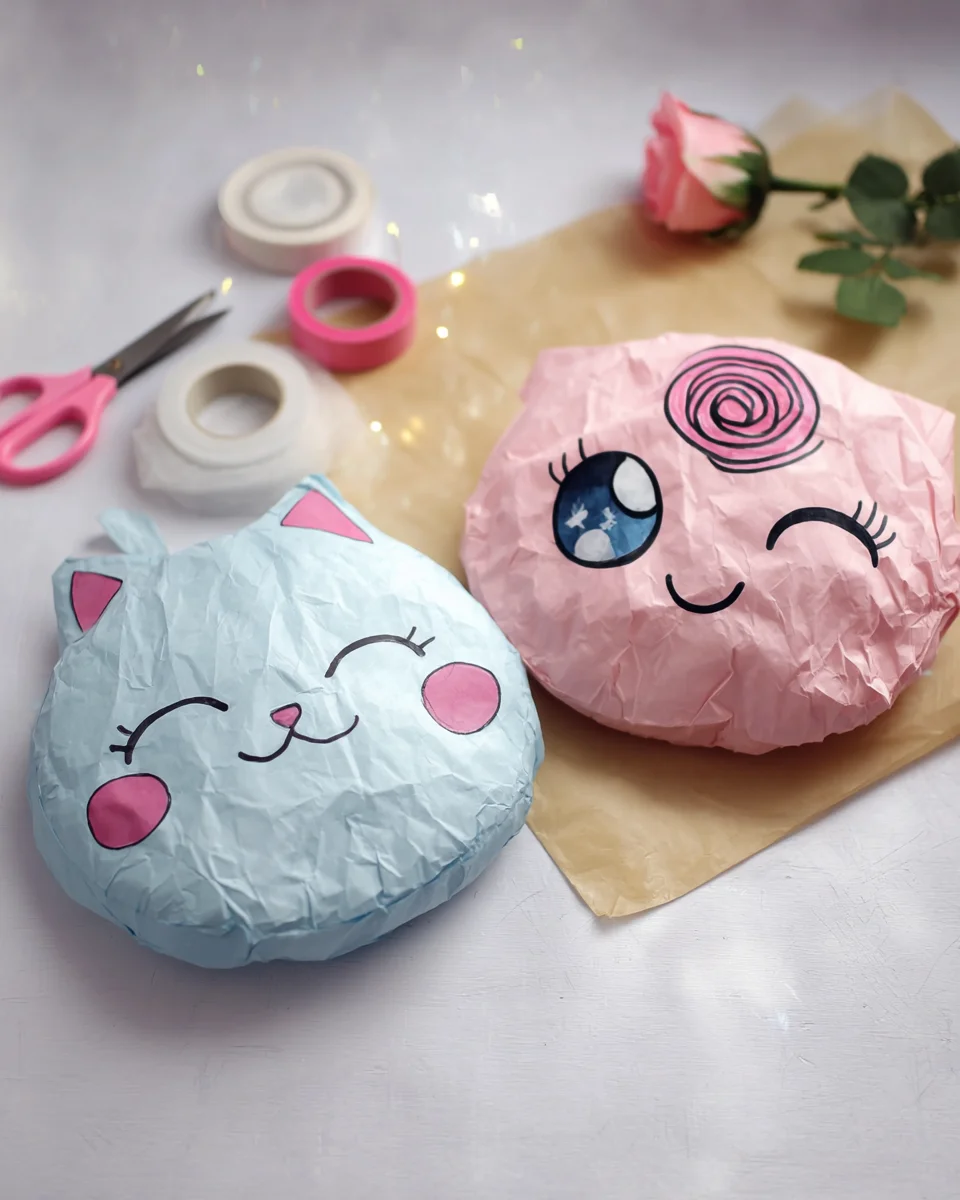
Introduction to How to Make Paper Squishies
Crafting is like a cozy blanket for the soul, wrapping us in warmth and creativity. As a busy mom, I know how hard it can be to find time for ourselves amid our hectic schedules. That’s why I adore making paper squishies. They’re a delightful, hands-on project that brings joy, whether shared with children or enjoyed solo as a moment of self-care.
Nothing beats the satisfaction of turning simple materials into something fun and colorful! Plus, creating paper squishies is a fantastic way to unwind and spark your imagination.
Why You’ll Love This How to Make Paper Squishies
Creating your own paper squishies is like unleashing your inner child while crafting something uniquely yours. The materials are super simple and often found around the house, making it an accessible project for everyone. In just 15 minutes, you can create a colorful masterpiece that brings smiles. It’s rewarding to see your imagination take shape, turning basic supplies into a squishy burst of creativity!

Ingredients for How to Make Paper Squishies
Gathering your materials for making paper squishies is half the fun! You will need:
- 2 x colored paper sheets: Choose vibrant colors or fun patterns to give your squishies personality. Your creativity knows no bounds!
- White paper: This will act as the sturdy base for your squishy, ensuring it holds its shape as you roll out your design.
- Black marker: Use this to outline your squishy’s features, bringing charm and character to your creation.
- Transparent tape: Essential for securely assembling and keeping your squishy together.
- Toy filling: This can be anything soft, like cotton balls or fabric scraps, giving your squishy that satisfying plush feel.
- Small plastic bag (optional): For extra cushioning, you might want to stuff your filling into a bag for added squishiness!
Feel free to let your imagination run wild with the colors and designs! The exact measurements will be available at the end for easy printing.
How to Make Paper Squishies
Gather Your Supplies
Before diving into this vibrant paper squishy adventure, let’s gather all our supplies!
You will need colored paper sheets, white paper, black marker, transparent tape, and toy filling. Don’t forget! A small plastic bag is optional but adds to the fun. Lay everything out on a clean, flat surface for easy access. This little prep makes such a difference when diving into our creative process!
Create the Squishy Base
Now, let’s get to the heart of our squishy! Grab your colored paper and draw out your desired squishy shape. This could be a cute animal, a fun food item, or a whimsical character. If drawing isn’t your forte, you can always find and print a pattern online.
Just make sure to measure and cut accurately—this helps your squishy look polished and professional! Cut out the main shape as well as a matching back piece to give it stability, ensuring both parts fit snugly together. After all, we want our squishies to be sturdy and ready for all the squishing!
Add Feature Details
Adding personality to your squishy brings it to life! Cut out additional shapes for facial features using white paper. Think about those cute eyes, delightful ears, and a cheerful smile. Once these pieces are ready, use your black marker to draw whimsical designs.
Feel free to experiment with unique expressions! The joy of crafting lies in infusing your creation with your style—go wild with patterns, colors, and shapes to make each squishy uniquely yours!
Assemble the Squishy
Time for the fun part: assembling your squishy! Start by laying the front piece down and position your feature details neatly. Then, take your back piece and place it on top, ensuring everything aligns perfectly.
Now, grab your transparent tape and slowly secure all around the edges. Just remember, you need to leave an opening! This gap will be your secret doorway to stuff the squishy later. Secure the edges, but be cautious around tricky spots like ears. We want everything to hold together, but avoiding those tricky angles is a must!
Stuff Your Squishy
Here’s where the magic happens! Carefully stuff your squishy through the opening you left. Use cotton balls for a fluffy feel or use the small plastic bag to contain your filling, creating a more durable squish experience.
Make sure to fill it enough to give it a good squishy bounce, but not so much that it bursts at the seams! It’s all about that perfect balance; too little, and it won’t squish, but too much and we end up in a bit of a sticky situation!
Final Touch and Tape
The last step is sealing your creation! Once you are happy with the squishiness level, it’s time to tape that opening closed securely. Ensure all edges are fastened well, so your beloved squishy lasts through all the cuddles. This is also the chance to add any additional decorative touches, like glitter or stickers, to give it that final flair.
Remember, this is your masterpiece, so let your creative spirit shine brightly! Now just admire your vibrant paper squishy creation, ready to bring joy and laughter!
Tips for Success
Here are some quick tips to help you create the best paper squishies:
- Avoid overly complex designs if you’re short on time; simple shapes can be just as much fun!
- Use a variety of colors and patterns to make your squishies pop with personality.
- Keep your crafting space organized; a tidy area makes for a more enjoyable experience.
- Don’t hesitate to get messy with markers and glitter; that’s all part of the fun!
Equipment Needed
Before we embark on this colorful journey, let’s make sure we have the right tools! Here’s what you’ll need:
- Scissors: Essential for cutting out your paper shapes. An alternative could be a craft knife if you’re feeling adventurous!
- Markers: Use black for detailing; colored markers can add flair too!
- Tape: Clear scotch tape is perfect for assembly. If you prefer, a glue stick can work in a pinch.
Variations
Now that you’re on your way to making fabulous paper squishies, why not add some creative twists to your project? Here are a few delightful variations to spark your imagination:
- Seasonal Themes: Make squishies shaped like pumpkins for Halloween, snowmen for Christmas, or flowers for spring!
- Different Shapes: Experiment with unconventional shapes—like stars, hearts, or even geometric designs!
- Add Glitter: A sprinkle of glitter can elevate your squishies to a whole new level of sparkle and charm.
- Textured Fillings: Try using different materials for filling, like foam balls or shredded paper, to offer a unique squish sensation.
- Layered Designs: Create depth by layering different colored papers for a multi-dimensional look.
Let your creativity run wild! The more variations you try, the more fun you’ll have crafting these adorable squishies.
Serving Suggestions
Now that you’ve crafted your charming paper squishies, it’s time to showcase them! Here are a few delightful ideas:
- Display them on a shelf or a desk to brighten your space.
- Gift them to friends or family for a personal touch.
- Incorporate them into playtime or DIY toy collections.
- Use them as fun desk stress relievers for a creative twist!
FAQs about How to Make Paper Squishies
As with any fun craft, you might have some questions about making paper squishies. Let’s tackle a few common queries!
Are paper squishies durable?
While paper squishies are not as strong as store-bought ones, they can last a good while with some care. Just avoid excessive squishing, and they’ll keep their shape!
Are they safe for kids?
Absolutely! Paper squishies are a child-friendly craft. Just supervise little ones while using scissors and markers to keep everyone safe during the fun.
What can I use if I don’t have toy filling?
You can get creative! Use cotton balls, fabric scraps, or even crumpled-up paper. These alternatives work perfectly to create that squishy sensation!
How do I clean my squishies?
If your squishy gets dirty, gently dab it with a damp cloth. Avoid soaking it! Always let them air-dry to maintain their shape and design.
Can I customize designs further?
Definitely! You can add stickers, glitter, or even fabric for extra flair. Customizing your squishies allows for endless creativity and fun!
Final Thoughts
As I reflect on the delightful journey of making paper squishies, I can’t help but smile. This simple craft isn’t just about creating colorful squishies; it’s about connection, whether with our children or through the joy of self-expression. Each squishy tells a story, bursting with laughter and creativity. I encourage you to share your marvelous creations; you never know whose day you might brighten! Let’s inspire each other, swapping ideas and designs, turning our little crafting community into a vibrant celebration of imagination. Dive in, create, and let the squishiness spread joy in your life!
Print
How to Make Paper Squishies: Fun Craft Instructions!
- Total Time: 15 minutes
- Yield: 1 paper squishy 1x
- Diet: N/A
Description
Learn how to create fun and colorful paper squishies using basic craft supplies!
Ingredients
- 2 x colored paper sheets
- White paper
- Black marker
- Transparent tape
- Toy filling
- Small plastic bag (optional)
Instructions
- Grab your craft or construction paper, a marker, tape, and a pair of scissors to get started.
- Either draw your cartoon squishy or download and print a pattern online. Cut out the back of the cartoon squishy in the same outline.
- Draw and cut out the different parts of the cartoon—like the ears and the belly. Don’t forget the eyes, nose, and mouth!
- Once you’ve cut out the different components, tape the entire squishy in place using clear scotch tape. Be extra careful around the ears and other tricky corners!
- Leave the ends of the cutting open—you will be stuffing the squishy through this gap.
- You can stuff the squishy as is, or fill a small plastic bag with it and shove it into the gap you left open.
- Finally, tape the opening closed and carefully secure the tape in place to fasten off. Your squishy is ready!
Notes
- This is a great project to do with kids or as a fun solo activity.
- Be creative with colors and designs for your squishies!
- You can personalize your squishies by adding different facial expressions.
- Prep Time: 15 minutes
- Cook Time: 0 minutes
- Category: Craft
- Method: Handcrafting
- Cuisine: N/A
Nutrition
- Serving Size: N/A
- Calories: N/A
- Sugar: N/A
- Sodium: N/A
- Fat: N/A
- Saturated Fat: N/A
- Unsaturated Fat: N/A
- Trans Fat: N/A
- Carbohydrates: N/A
- Fiber: N/A
- Protein: N/A
- Cholesterol: N/A

